GeezerVisonThe World Wide Web, restored to 800 pixels of glory. |
| Home|About|Gaming cabinet|Archives|How it works|Starter sites |
GeezerVison is showing devxprite.github.io — Prateek Singh Hii, I amPrateek SinghWelcome to my portfolio! I'm a dedicated full-stack developer with a strong expertise in web development. I specialize in building dynamic and intuitive web applications.  A Small Introduction about myselfHey there! I am a passionate Full Stack Developer with expertise in building modern web applications. I have always been drawn to the world of coding and I am constantly looking for ways to challenge myself and improve my skills. My experience in web development includes working with Javascript, Express, React, NextJS, and Node.js to build user-friendly and efficient web applications. I am particularly skilled in the MERN stack and have a strong understanding of its components. Beyond my personal projects, I actively contribute to open-source communities, believing that collaboration leads to better software and personal growth. I thrive in environments where I can exchange ideas, receive feedback, and continuously expand my skillset through challenging projects Where I've WorkedOct 2023 - May 2024 FrontEnd DeveloperCybeReconN
Nov 2022 - April 2023 Full-stack DeveloperBharatTech · Internship
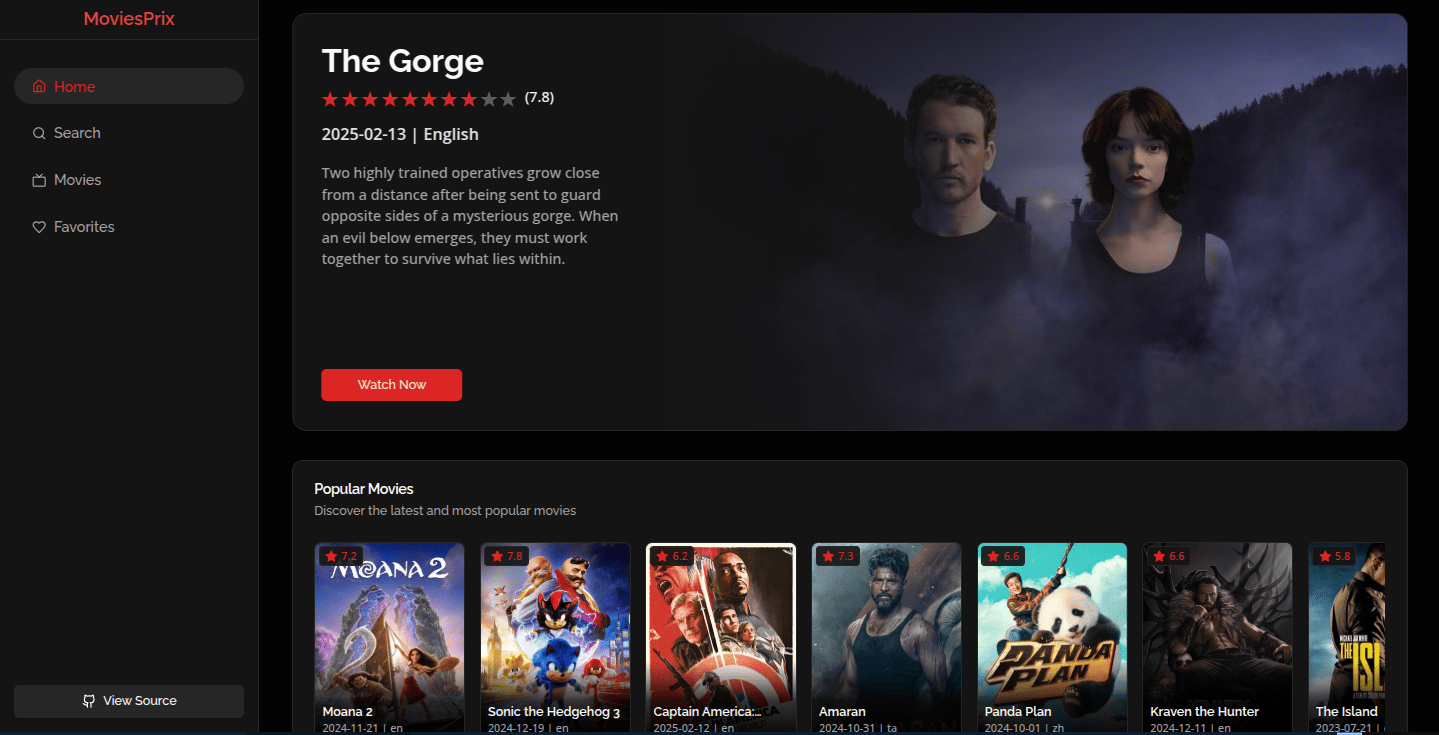
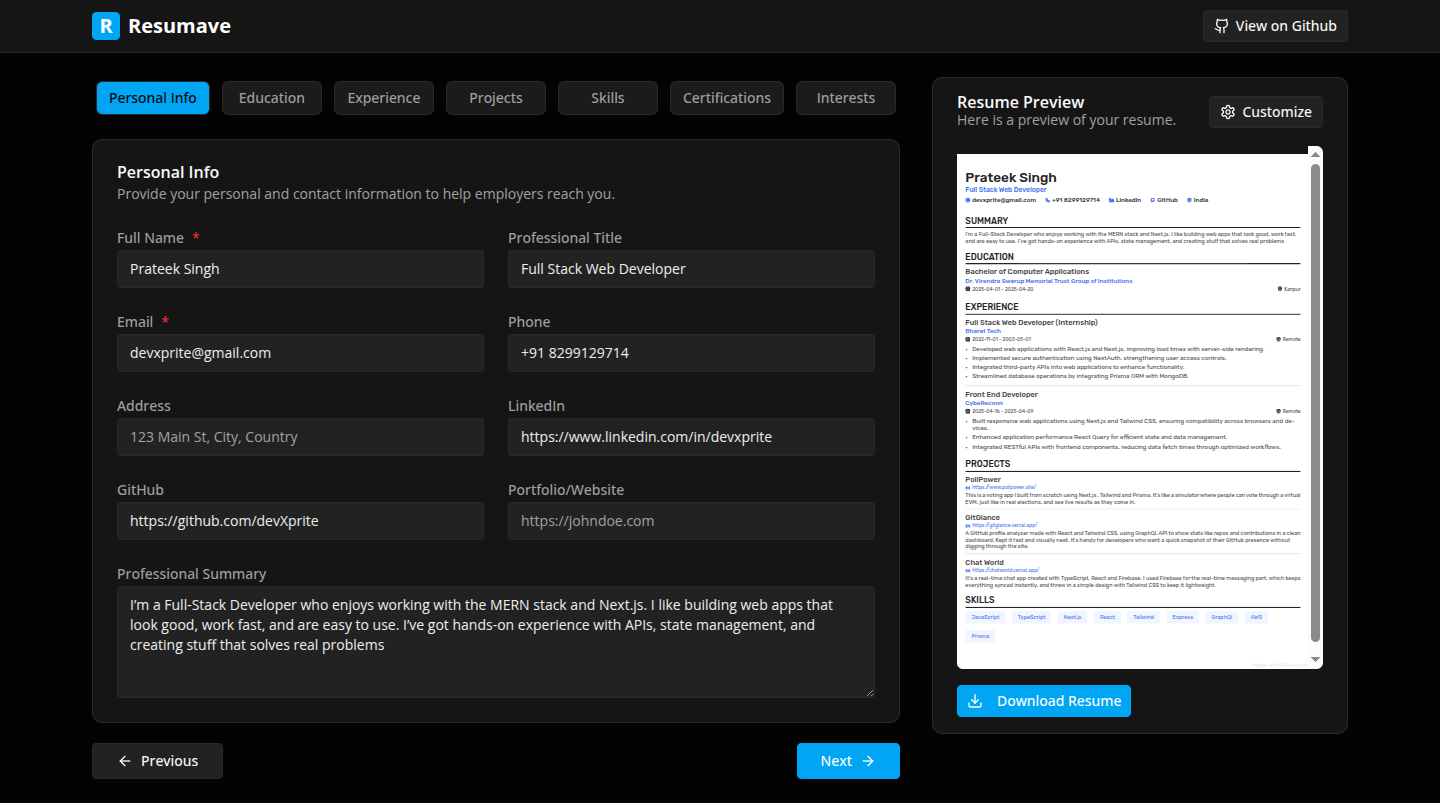
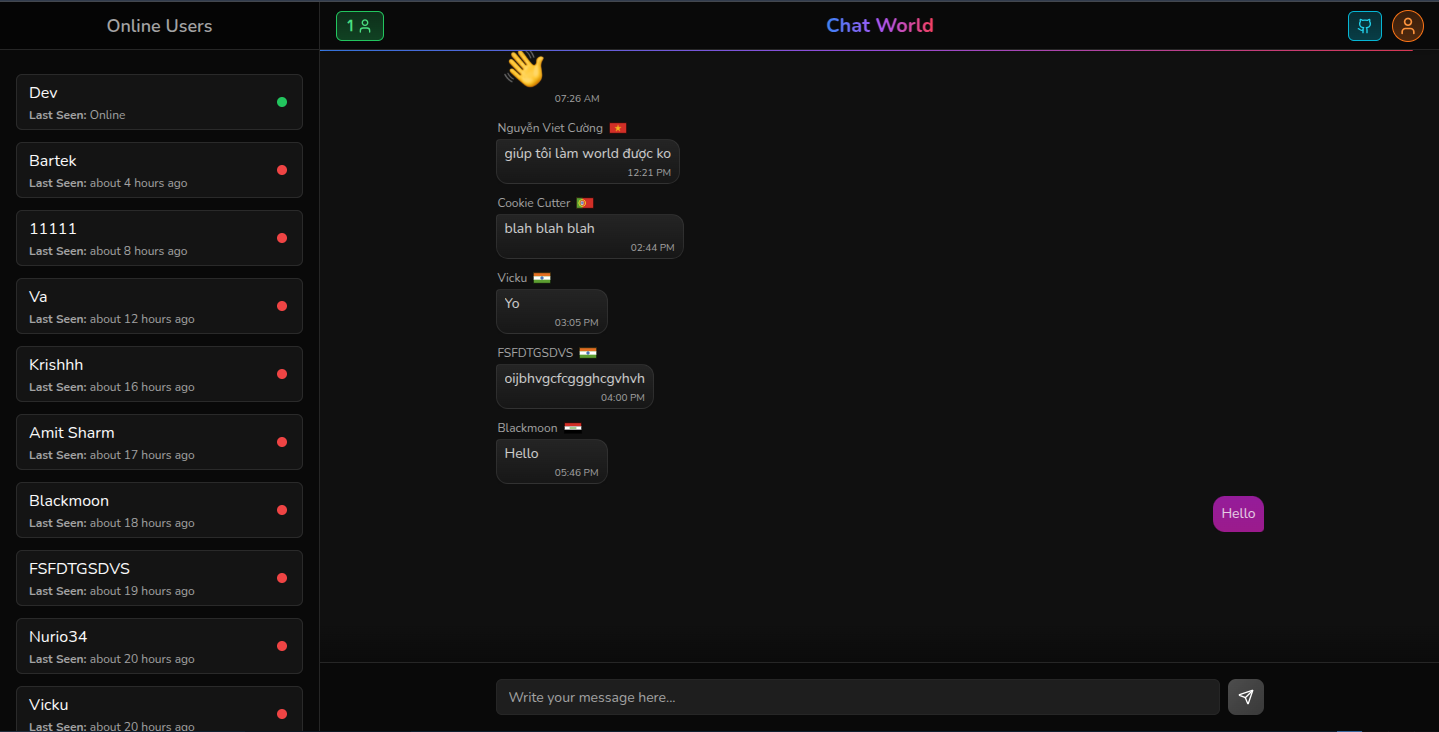
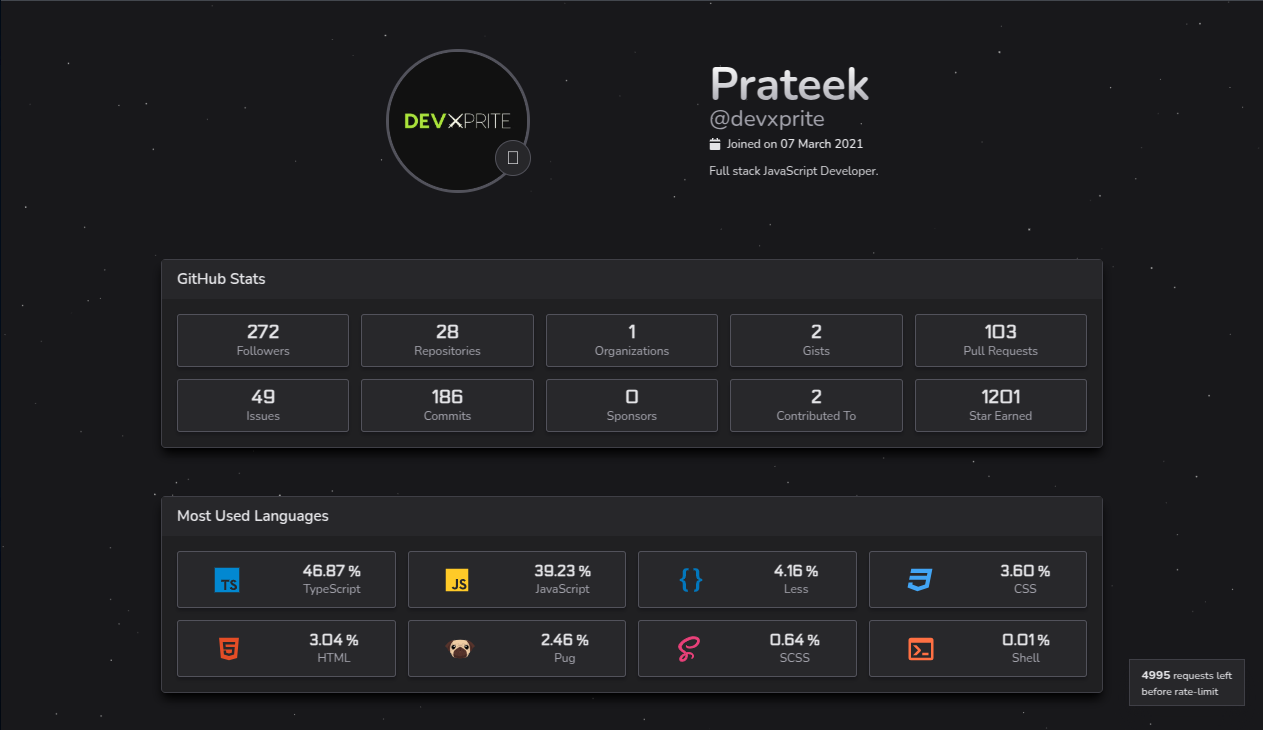
Technologies I Work WithThese are the technologies I work with daily to build web applications.  JavaScriptProgramming Language  TypeScriptProgramming Language  Next.jsFull-Stack Framework  ReactFrontend Framework  TailwindCSS Framework  SASSCSS Preprocessor  ExpressBackend Framework  GraphQLAPI Query Language  AWSCloud Platform  PrismaDatabase/ORM  Node.jsRuntime Environment  GitVersion Control  MongoDBNoSQL Database  FirebaseBackend/Database  RedisIn-Memory Database  FigmaDesign Tool Check out my latest workI've worked on a variety of projects, from simple websites to complex web applications. Here are a few of my favorites. My Github NumbersA friendly overview of my activity and contributions on GitHub. +Stars Earned+Followers+Repositories+Issues+Pull Requests+ContributionsMy Public ProjectsProjects I've created that are available for anyone to use and contribute to. infooozeA OSINT tool which helps you to quickly find information effectively. All you need is to input and it will take take care of rest. osint osint-tool nodejs open-source infoooze npm JavaScript 1155 173 resumaveIt's an ATS-friendly resume maker designed to simplify the process of creating professional resumes without the hassle of login or sign-up. nextjs nodejs react react-pdf redux JavaScript 171 68 httpfyA fast and powerful http toolkit that take a list of domains to find active domains and other information such as status-code, title, response-time , server, content-type and many other hacking http infosec kali-tools nodejs JavaScript 81 6 GitglanceGitGlance is your go-to tool for visualizing GitHub profiles. Gain insights into your contributions, expertise, and community engagement with intuitive visualizations. javascript tailwindcss github mongoose JavaScript 77 23 GitVioCreate beautiful portfolio from your GitHub github javascript less nodejs open-source profile JavaScript 42 6 javascript-chatbotA Powerful chatbot in javascript. chatbot express html javascript json JavaScript 40 16 Chat-WorldChatWorld is a lightweight, real-time global chat application that lets you instantly connect with people around the world. No sign-up required - just enter your name and start chatting! firebase chat chatapp open-source TypeScript 36 5 moviesprixMoviesPrix is a modern movie discovery web application built with Next.js 15, offering users a seamless experience to explore, search, and save their favorite movies. javascript movies movies-app nextjs react reactjs TypeScript 28 9 SearchExPowerful Search Engine in NextJs javascript nextjs nextjs13 react JavaScript 24 5 My GitHub ContributionsVisual representation of my GitHub contributions throughout the year. NovDecJanFebMarAprMayJunJulAugSepOctNov What I WriteSharing my knowledge about web development and coding techniques. February 27, 2025 Upload Images to Cloudinary in Next.js (Using App Router)react web-development cloudinary typescript nextjs In this blog, we’ll walk through the steps to upload images to Cloudinary in a Next.js application. We’ll use the App Router (introduced in Next.js 13) and Server Actions to handle the image upload process. By the end of this guide, you’ll have a simple and functional image upload feature in your Next.js app.
What is Cloudinary?
Cloudinary is a cloud-based service that helps developers manage, optimize, and deliver images and videos. It provides an easy-to-use API for uploading, transforming, and serving media files.
Prerequisites
Before we start, make sure you have the following:
A Cloudinary account (you can sign up for free at cloudinary.com).
A Next.js project set up with the App Router (Next.js 13 or later)
Step 1: Set Up Cloudinary
Create a Cloudinary Account: If you don’t have one, sign up at cloudinary.com.
Get Your Cloudinary Credentials: After signing up, go to your Cloudinary dashboard and note down your:
Cloud Name
API Key
API Secret
These credentials will be used to upload images to your Cloudinary account.
Cloudinary Dashboard
Step 2: Install Required Packages
To interact with Cloudinary, we’ll use the cloudinary package. Install it using npm or yarn:
npm install cloudinary
Step 3: Set Up Environment Variables
Store your Cloudinary credentials securely in a .env.local file:
CLOUDINARY_CLOUD_NAME=your_cloud_name
CLOUDINARY_API_KEY=your_api_key
CLOUDINARY_API_SECRET=your_api_secret
Step 4: Create a Server Action for Image Upload
In Next.js, Server Actions allow you to run server-side code directly from your components. We’ll create a Server Action to handle the image upload process.
Create a new file called actions.ts in your project:
// app/action.ts
"use server";
import { v2 as cloudinary, UploadApiResponse } from "cloudinary";
// Configure Cloudinary
cloudinary.config({
cloud_name: process.env.CLOUDINARY_CLOUD_NAME,
api_key: process.env.CLOUDINARY_API_KEY,
api_secret: process.env.CLOUDINARY_API_SECRET,
});
// Server Action to upload image
export async function uploadImage(formData: FormData) {
const file = formData.get("file") as File;
if (!file) {
throw new Error("No file uploaded");
}
// Convert file to buffer
const arrayBuffer = await file.arrayBuffer();
const buffer = Buffer.from(arrayBuffer);
// Upload to Cloudinary
const result: UploadApiResponse | undefined = await new Promise(
(resolve, reject) => {
cloudinary.uploader
.upload_stream(
{
resource_type: "auto", // Automatically detect image/video
folder: "nextjs-uploads", // Optional: Organize files in a folder
},
(error, result) => {
if (error) reject(error);
else resolve(result);
}
)
.end(buffer);
}
);
return result;
}
Step 5: Create the Upload Form
Now, let’s create a form in a Next.js client component to upload images. In this component we’ll use the Server Action we just created.
lets Create a new file called UploadForm.tsx:
// app/components/UploadForm.tsx
"use client";
import { uploadImage } from "@/app/actions";
import { useState } from "react";
export default function UploadForm() {
const [imageUrl, setImageUrl] = useState<string | null>(null);
const [loading, setLoading] = useState(false);
const handleSubmit = async (e: React.FormEvent<HTMLFormElement>) => {
e.preventDefault();
setLoading(true);
const formData = new FormData(e.currentTarget);
const result = await uploadImage(formData);
console.log(result);
if (result) {
setImageUrl(result?.secure_url);
}
setLoading(false);
};
return (
<div className="bg-white p-4 rounded-lg shadow w-80">
<form onSubmit={handleSubmit}>
<input
type="file"
name="file"
accept="image/*"
className="w-full border p-2 rounded mb-4"
required
/>
<button
type="submit"
disabled={loading}
className="w-full bg-blue-600 text-white py-2 rounded disabled:bg-gray-400"
>
{loading ? "Uploading..." : "Upload Image"}
</button>
</form>
{imageUrl && (
<div className="mt-4 text-center">
<p className="text-green-600">Image uploaded successfully!</p>
<img src={imageUrl} alt="Uploaded" className="mt-2 w-full rounded" />
</div>
)}
</div>
);
}
Step 6: Use the Upload Form in a Page
Finally, let’s use the UploadForm component in our page.
// app/page.tsx
import UploadForm from "@/components/UploadForm";
export default function Home() {
return (
<main className="min-h-screen flex items-center justify-center gap-8 flex-col bg-gray-100 ">
<h1 className="text-2xl font-bold">Upload Image to Cloudinary</h1>
<UploadForm />
</main>
);
}
Step 7: Test the Application
Run npm run dev and test the upload feature. If everything is set up correctly, the image will be uploaded to Cloudinary, and you’ll see a preview of the uploaded image. Here’s what the final result looks like:
Conclusion
That’s it! You’ve successfully built a feature to upload images to Cloudinary in a Next.js app using the App Router and Server Actions. This setup is simple, efficient, and scalable for most use cases. Read MoreFebruary 17, 2025 Using AbortController with Fetch API and ReactJSreact web-development abortcontroller javascript fetch-api AbortController is a JavaScript interface that allows you to cancel one or more DOM requests (like Fetch API calls) as and when needed. It provides a way to abort fetch requests.
Why Abort Requests? 🚫
Imagine you’re building a search feature for an e-commerce app. Every time a user types a letter (like “w”, then “wi”, then “wir”…), your app sends a new Fetch request. If the user types fast, older requests might resolve after newer ones, causing outdated results to flicker on the screen. Worse, if they leave the page mid-fetch, React might try to update a component that’s already gone, leading to errors.
By using AbortController, you can cancel pending Fetch requests, ensuring that your application remains efficient.
How to Use AbortController with Fetch API
Now, let’s see how to use AbortController with React .
Step 1: Create an AbortController
const controller = new AbortController();
const signal = controller.signal;
The signal property is an AbortSignal object that can be passed to the Fetch API to associate it with the controller.
Step 2: Pass the Signal to Fetch
Next, you pass the signal to the fetch function as part of the options object.
fetch('https://api.example.com/data', { signal })
.then(response => response.json())
.then(data => console.log(data))
.catch(error => {
if (error.name === 'AbortError') {
console.log('Fetch aborted');
} else {
console.error('Fetch error:', error);
}
});
Step 3: Abort the Fetch Request
controller.abort();
To abort the fetch request, you call the abort method on the AbortController instance.
Using AbortController in ReactJS
Let’s create a React component for searching products. We’ll use AbortController to cancel outdated searches.
import React, { useState, useEffect } from 'react';
function ProductSearch() {
const [query, setQuery] = useState(''); // Search input, like "wireless headphones"
const [results, setResults] = useState([]); // Search results
const [loading, setLoading] = useState(false);
useEffect(() => {
// Step 1: Create the AbortController
const controller = new AbortController();
const { signal } = controller;
const fetchResults = async () => {
if (!query) return; // Don't search for empty queries
setLoading(true);
try {
// Step 2: Pass the signal to Fetch
const response = await fetch(
`https://api.example.com/products?search=${query}`,
{ signal }
);
const data = await response.json();
setResults(data);
} catch (err) {
// Step 3: Handle cancellation gracefully
if (err.name === 'AbortError') {
console.log('Request aborted! Moving on...');
} else {
console.error('Oops!', err);
}
} finally {
setLoading(false);
}
};
fetchResults();
// Step 4: Abort if the query changes or the component unmounts
return () => controller.abort();
}, [query]); // Re-run effect when `query` changes
return (
<div>
<input
type="text"
value={query}
onChange={(e) => setQuery(e.target.value)}
placeholder="Search for products..."
/>
{loading && <p>Searching for "{query}"...</p>}
<ul>
{results.map((product) => (
<li key={product.id}>{product.name}</li>
))}
</ul>
</div>
);
}
export default ProductSearch;
Breaking It Down 🔍
The useEffect Hook: Whenever the user types (updating query), this effect runs. Each new search creates a fresh AbortController.
The Cleanup Function: When the effect re-runs (because query changed) or the component unmounts, React calls controller.abort(). This cancels the previous Fetch request if it’s still pending.
Handling Errors: If a request is aborted, Fetch throws an AbortError. We ignore it because it’s intentional. Real errors (like network failures) are logged for debugging.
Pro Tips 💡
Avoid Memory Leaks: Always abort requests when a component unmounts. React’s cleanup function in useEffect is perfect for this.
Debounce for Extra Smoothness: Combine AbortController with a debounce function (like a 300ms delay) to avoid spamming the API on every keystroke.
Not Just for Search: Use AbortController for any Fetch call that might become irrelevant — like canceling a file upload when the user closes a modal.
Conclusion
Using AbortController with the Fetch API in ReactJS is a powerful way to manage and cancel fetch requests. It helps in making your application more efficient and responsive by avoiding unnecessary network requests and potential memory leaks.
Happy coding! Read MoreApril 29, 2024 How to deploy Vite React App to GitHub Pagesreact web-development programming github You can use GitHub Pages to host your website for free. In this guide will show you how you can deploy your Vite React applications to GitHub Pages in an easy way. this easy-to-follow tutorial will help you publish your projects. So, let’s dive in and get your website live!
Photo by Lautaro Andreani on Unsplash
What is GitHub pages?
It is a static site hosting service offered by GitHub. It allows users to effortlessly publish websites directly from their repositories. With GitHub Pages, developers and organizations can showcase their projects, portfolios, documentation, and more to the world. You can even use your own custom domain or use the free domain github.io which is provided by GitHub. It’s all done using Git and GitHub, so it’s super easy!
Setup a simple react application
To begin, make sure you have Node.js installed on your machine. You can then create a new React project by running the following command in your terminal:
npm create vite my-project
cd my-project
npm install
npm run dev
now install install gh-pages package as a dev-dependency:
npm install gh-pages --save-dev
Add Script in package.json
In the package.json file add two new scripts predeploy & deploy something like this:
"scripts": {
// ...
"predeploy": "npm run build",
"deploy": "gh-pages -d dist"
}
Add Base Path in vite config
In the vite.config.js add a base path which is the name of the GitHub repository you created and it will look like this:
import { defineConfig } from "vite";
import react from "@vitejs/plugin-react";
// https://vitejs.dev/config/
export default defineConfig({
plugins: [react()],
base: "/my-project",
});
Setting Up Git
Before deploying your website, you’ll need to set up a Git repository to track your project’s changes. Follow these steps:
#create a new git repository
$ git init
#add all changed file paths to staged changes
$ git add .
#commit all staged changes
$ git commit -m 'initial commit'
#add remote repository
$ git remote add origin [HTTPS URL of the your repo]
#pushed local repository to remote repository on GitHub
$ git push origin master
Deploy
Now it’s time for deployment. This process involves building your React application and pushing it to the gh-pages branch of your repository :
npm run deploy
After running this command, git pushes the contents of the dist directory (which contains the built assets) to the gh-pages branch of your repository. This branch serves as the source for your GitHub Pages website. GitHub automatically detects changes to this branch and updates your website accordingly.
Once the deployment process is complete, your website is live! You can access it using the URL :
https://username.github.io/repository-name
where username is your GitHub username and repository-name is the name of your GitHub repository.
Conclusion:
Congratulations! Your Vite React website is now successfully deployed to GitHub Pages, and it’s ready to be accessed by users around the world. Any future updates to your project can be deployed using the same process Read MoreMarch 5, 2024 Code Splitting in React: Optimizing Performance and User Experiencereact tech dev Code splitting is a technique used in React applications to enhance performance and improve user experience by breaking down large bundles of JavaScript code into smaller, more manageable chunks. In essence, it allows you to load only the necessary code for the current view or feature, rather than downloading the entire application upfront. This can significantly reduce initial loading times, especially for larger applications with complex UIs.
Photo by Lautaro Andreani on Unsplash
Importance of Code Splitting:
In modern web development, performance is paramount. Users expect fast-loading websites and applications, and studies have shown that even small delays in page load times can lead to decreased user engagement and increased bounce rates. Code splitting addresses this challenge by optimizing the delivery of JavaScript code, ensuring that only essential code is loaded upfront, while additional code is fetched as needed.
Moreover, with the rise of single-page applications (SPAs) and complex web interfaces, the size of JavaScript bundles has grown significantly. This can lead to longer loading times, particularly on slower network connections or less powerful devices. By implementing code splitting, developers can mitigate this issue by dividing the codebase into smaller chunks and loading them asynchronously, thus improving overall performance and enhancing the user experience.
Techniques for Code Splitting
Using Dynamic Imports with React.lazy() and Suspense
React.lazy() and Suspense provide a built-in way to implement code splitting in React applications. This approach allows components to be loaded asynchronously when they are needed, rather than being included in the initial bundle.
import { lazy, Suspense } from 'react';
const MyComponent = lazy(() => import('./MyComponent'));
const App = () => {
return (
<div>
<h1>My React App</h1>
<Suspense fallback={<div>Loading...</div>}>
<MyComponent />
</Suspense>
</div>
);
};
export default App;
In the above example, lazy() dynamically imports the component MyComponent from a separate file using the import() function.
By wrapping the component with <Suspense>, you can specify a loading indicator (fallback) to display while the component is being loaded.
Conclusion:
Code splitting is a crucial technique for optimizing performance and enhancing the user experience in React applications. By selectively loading components and dependencies, we can reduce the initial bundle size, improve load times, and increase the responsiveness of our applications.
Thank you for reading! If you have any questions or insights to share, feel free to leave a comment below. Happy coding! Read More |
| You are visitor 01402503 — GeezerVison does not store the pages you look up. Best viewed with Netscape Navigator 4.7 or Internet Explorer 6 at 800×600. No cookies required. |